
Last Fall I inherited custody of a name-tag case for a group I belong to (the Edmonton Pond of the Honorable Order of the Blue Goose, International). The case, used to store our name tags, was originally built about 30 years ago and over the years had taken a bit of a beating. Most recently it had been left on a damp carpet for a period of time which had rusted out the piano hinge.
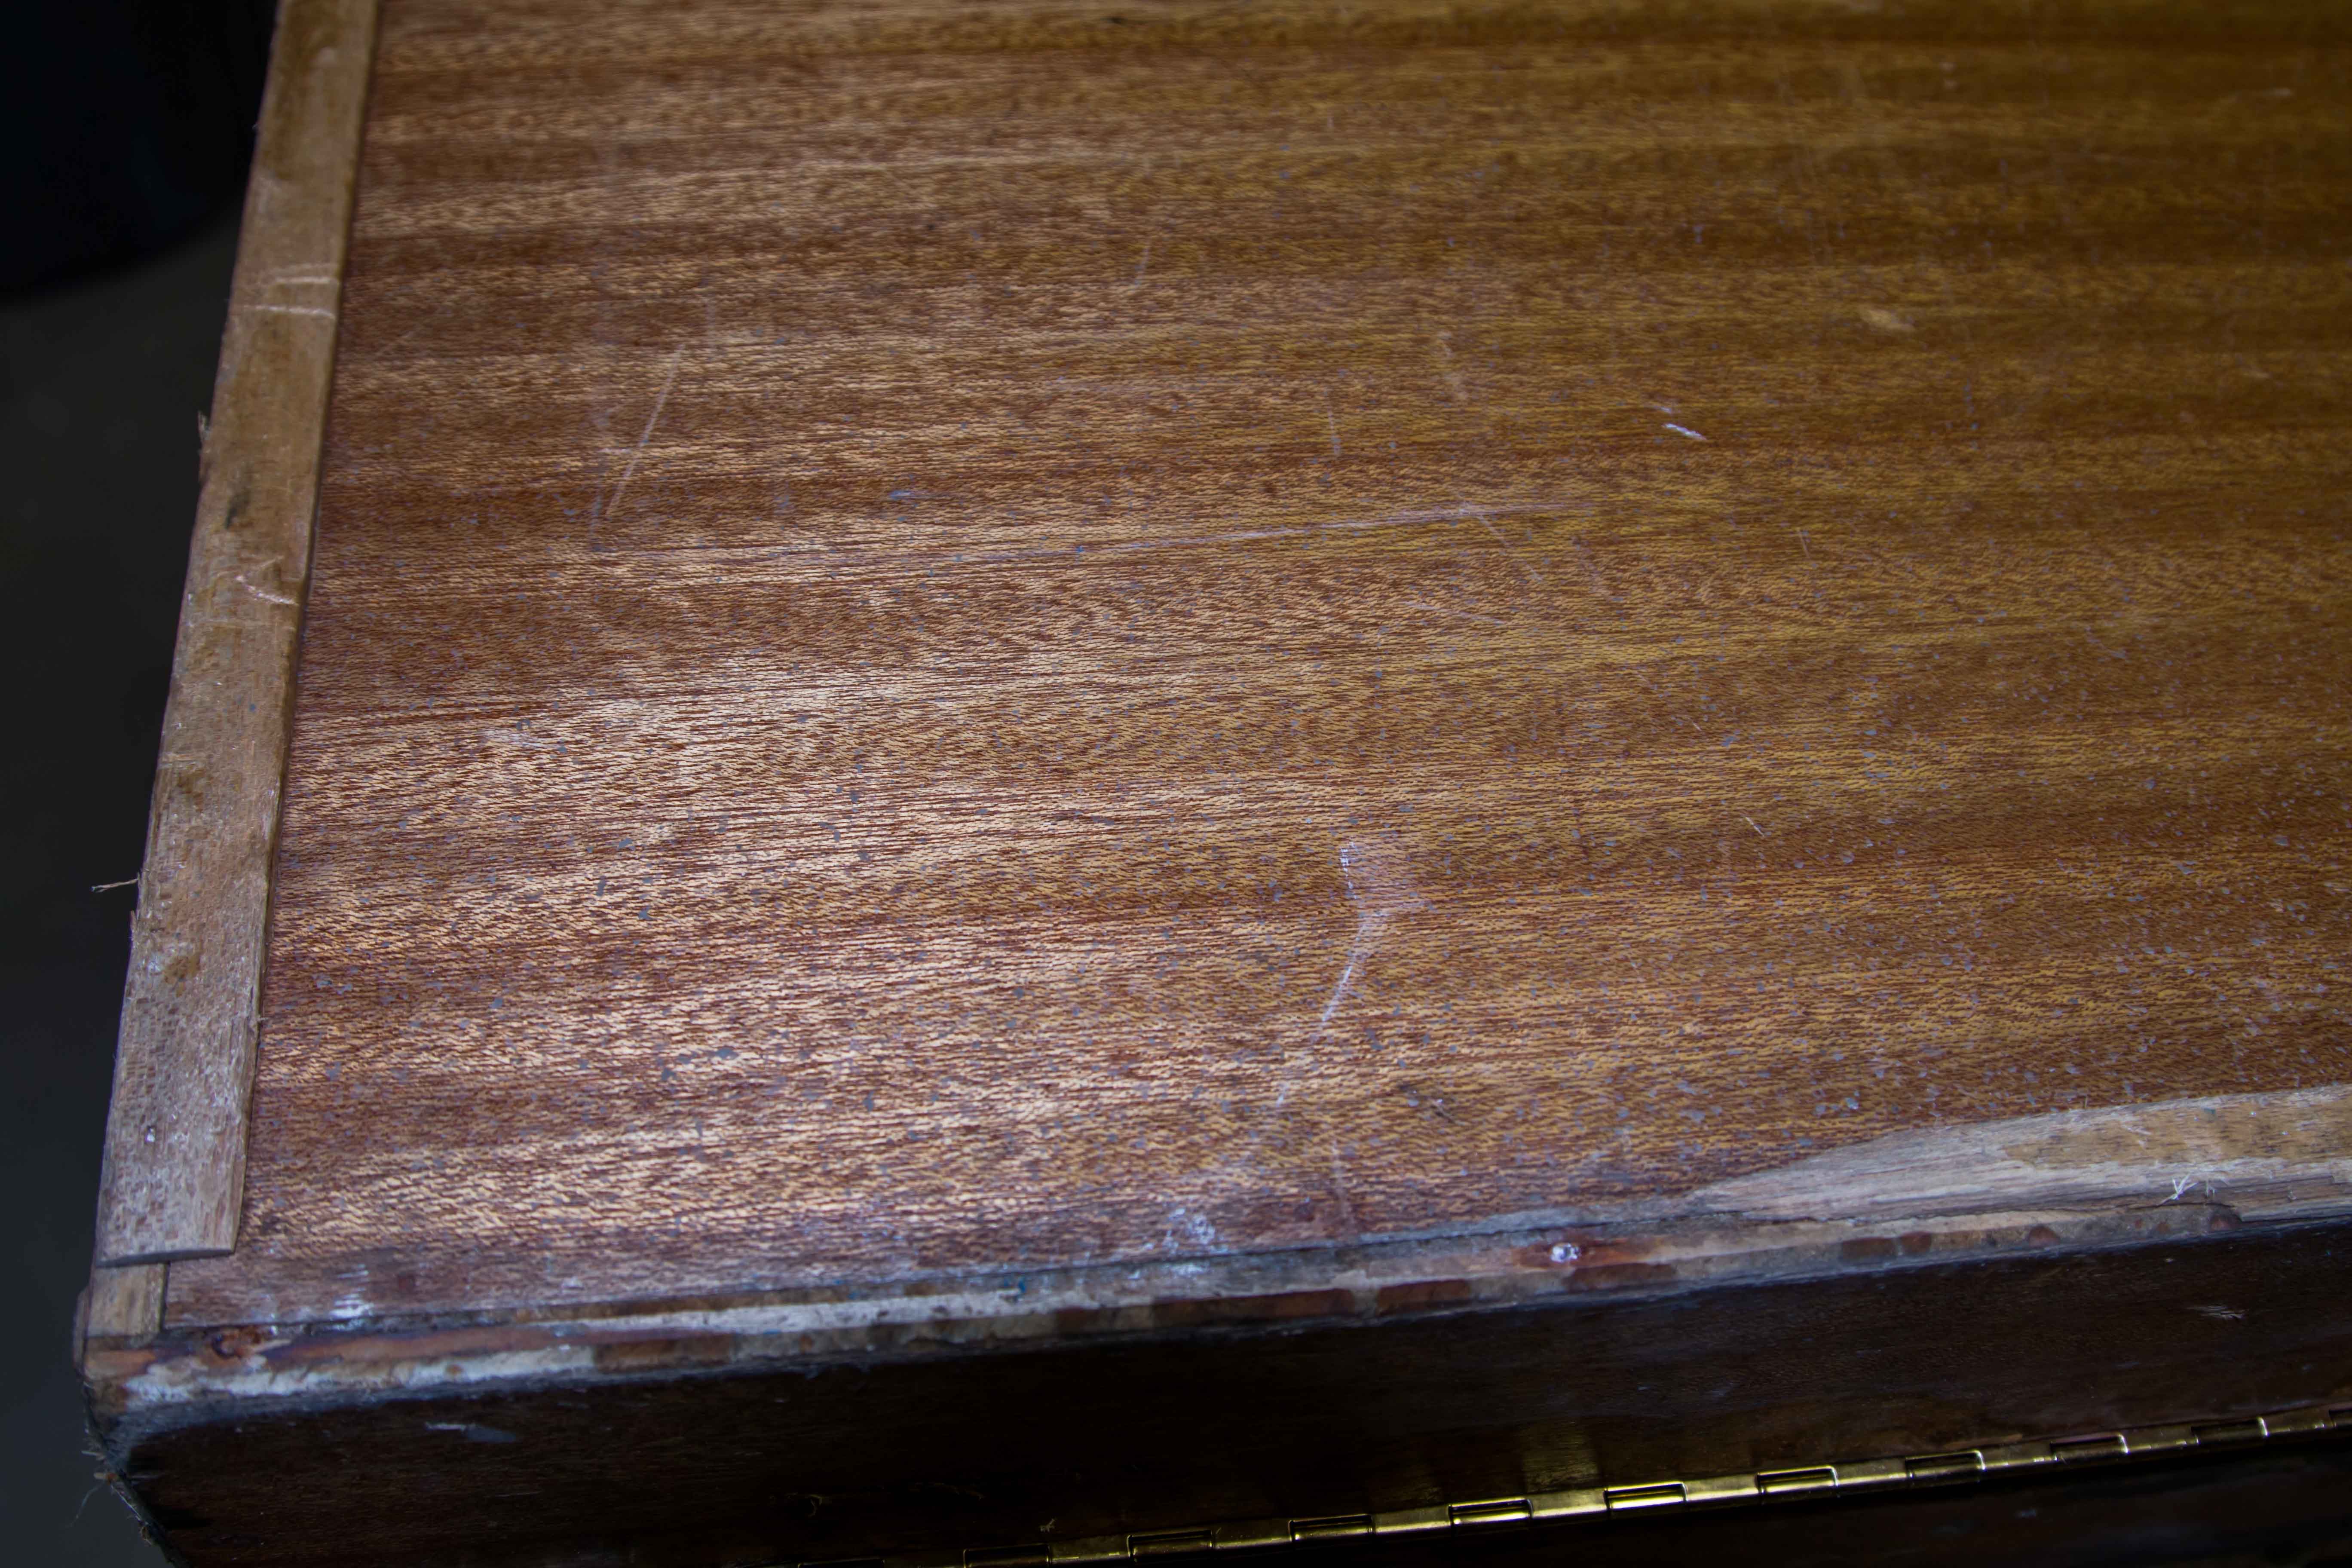
The case itself was very solidly constructed out of 3/4″ plywood so was built to last. However it was definitely in need of some TLC. I replaced the piano hinge so the case would be usable for our Christmas Luncheon but hadn’t gone beyond that point.
A couple of weeks ago, with another meeting on the horizon, I decided to undertake refinishing of the case itself. It seemed like it would be a fun little project and indeed that’s what it turned out to be.
Aside from various nicks and scratches, much of the trim on the case had been broken off. So the scope of my task involved removing the old trim, sanding down the case, installing new trim, and varnishing the box.
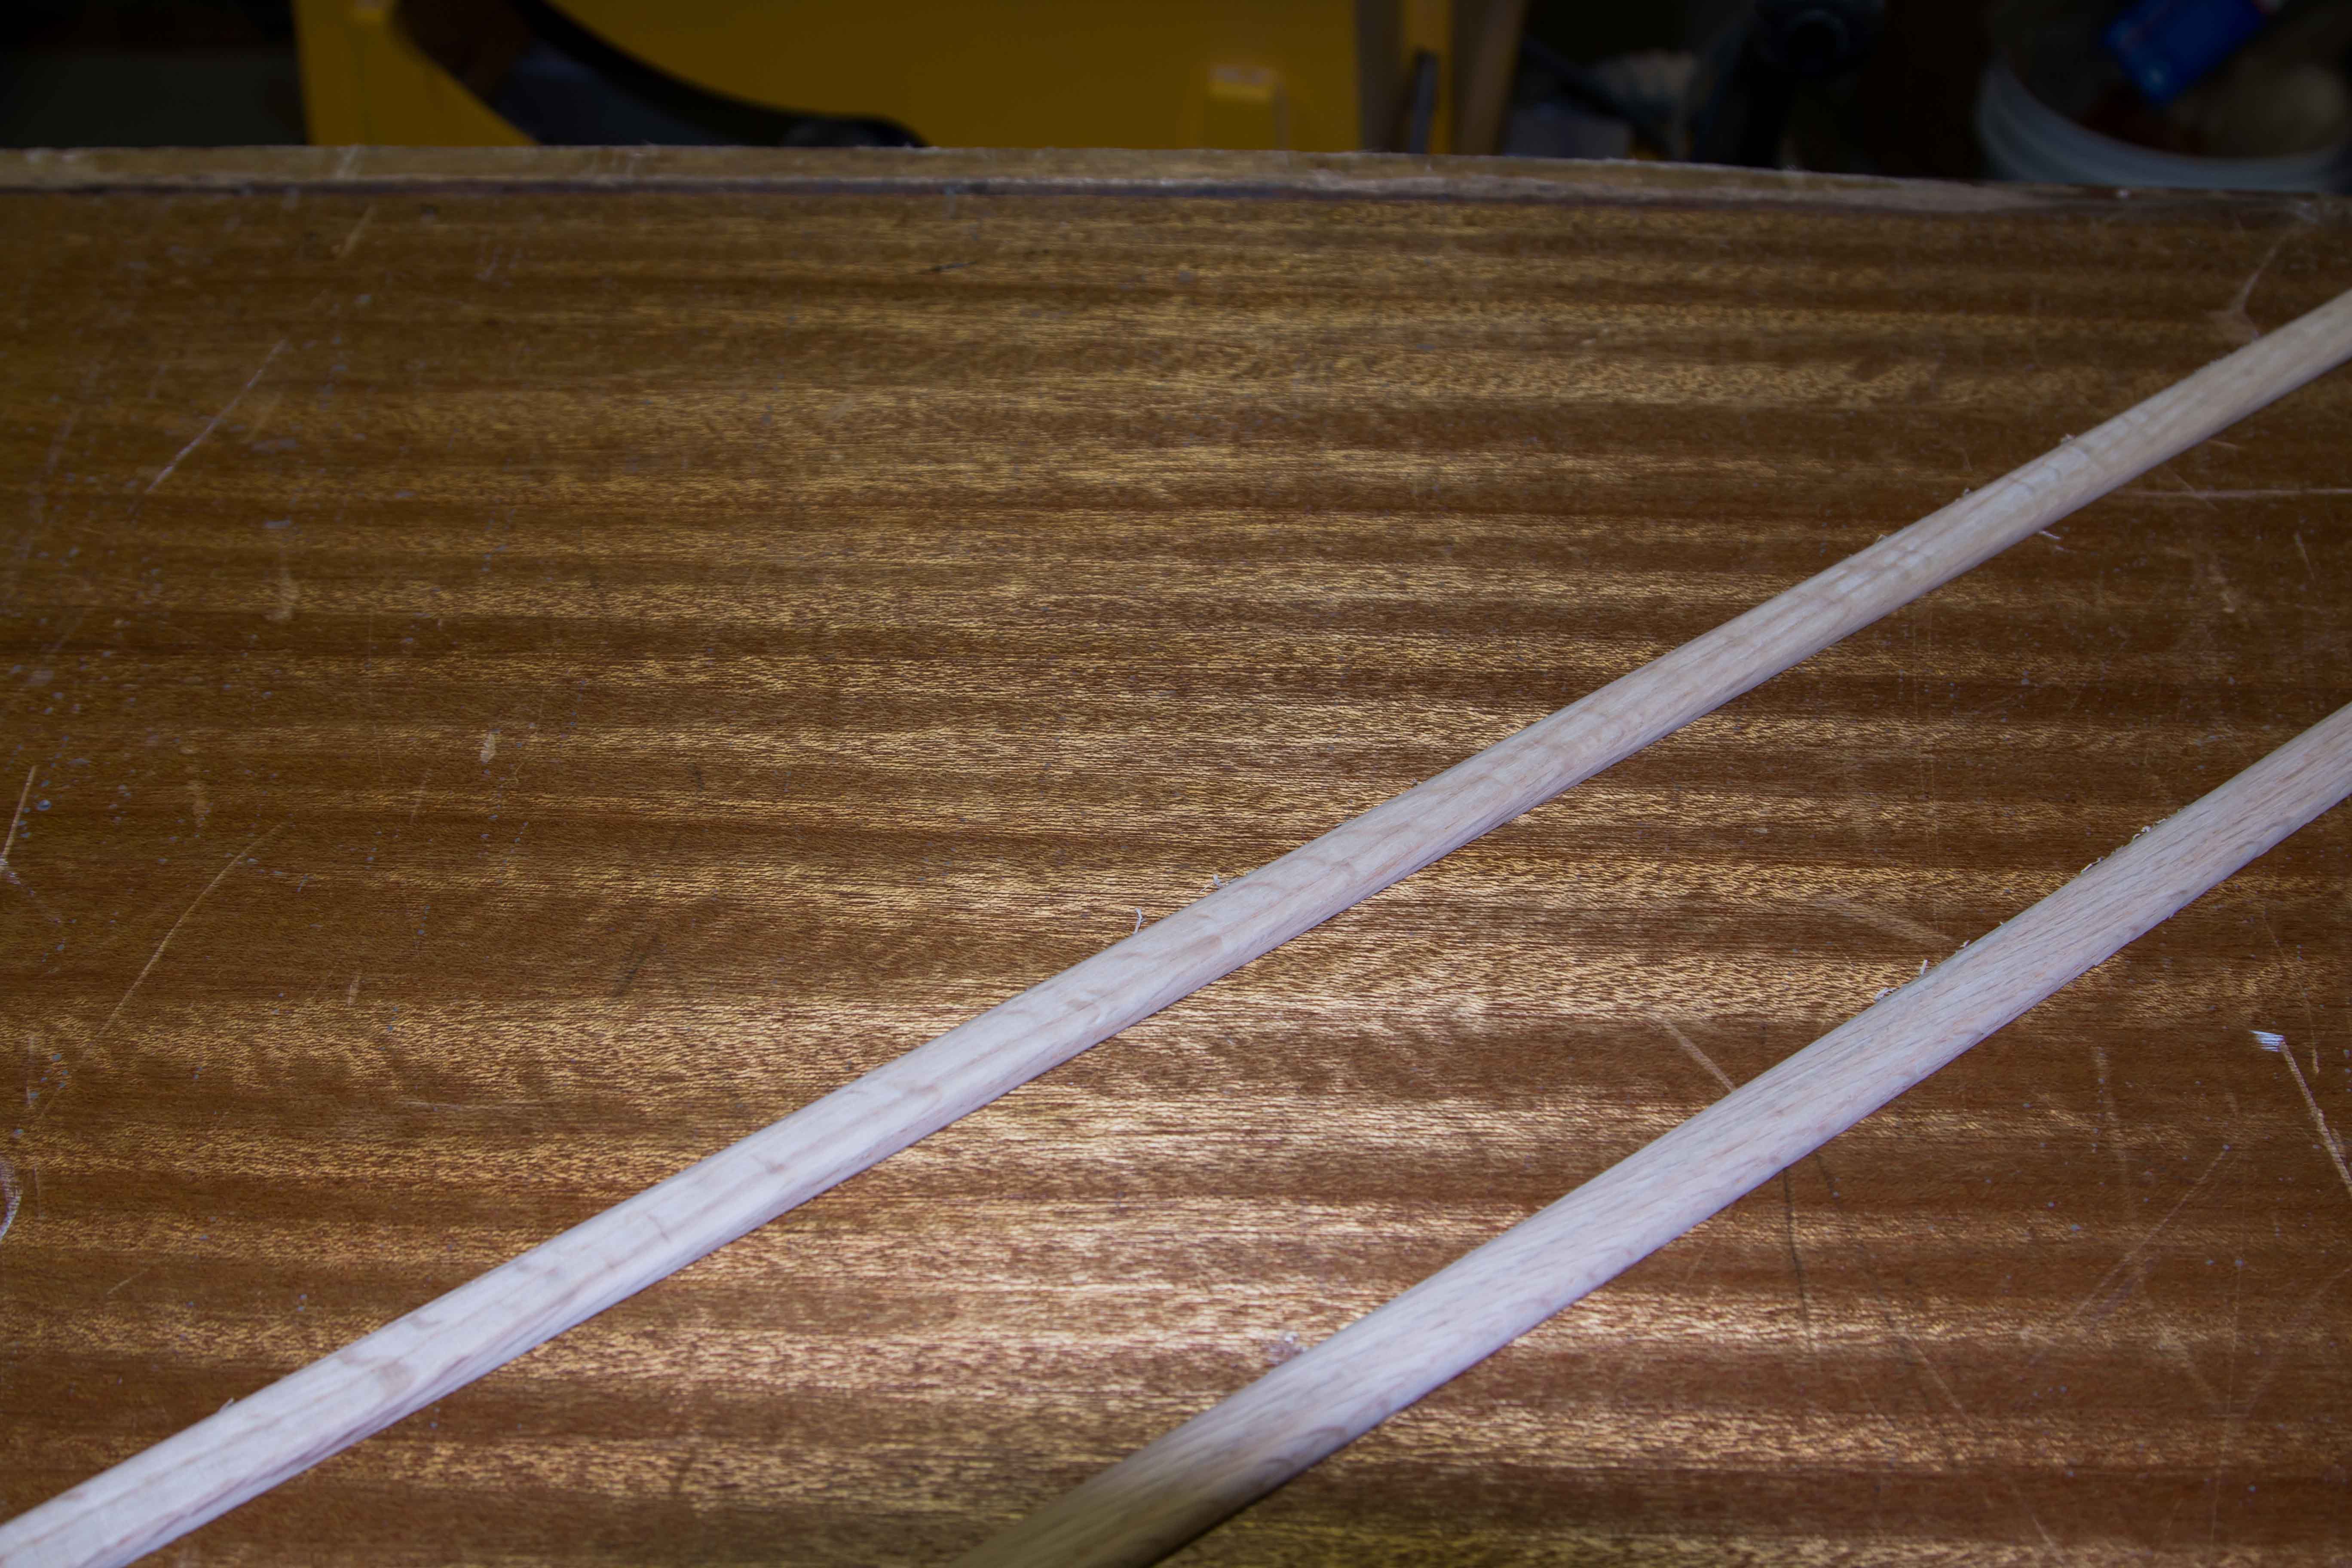
The trim itself was not something that could be readily purchased so I decided to make my own. Starting with a 1X6 strip of oak, I used my router to round the edges then cut a 3/8″ thick strip on the table saw, round the edges again, cut another strip, and so on. The result was pieces of trim that were pretty much identical to what had been on the box.
I removed all the hardware from the box followed by all the old trim. The next step was to sand down the box to remove the old finish and as many of the scratches and minor dents as I could. My chop saw made an easy job of installing the new trim. A little final sanding and the box was ready for varnishing.

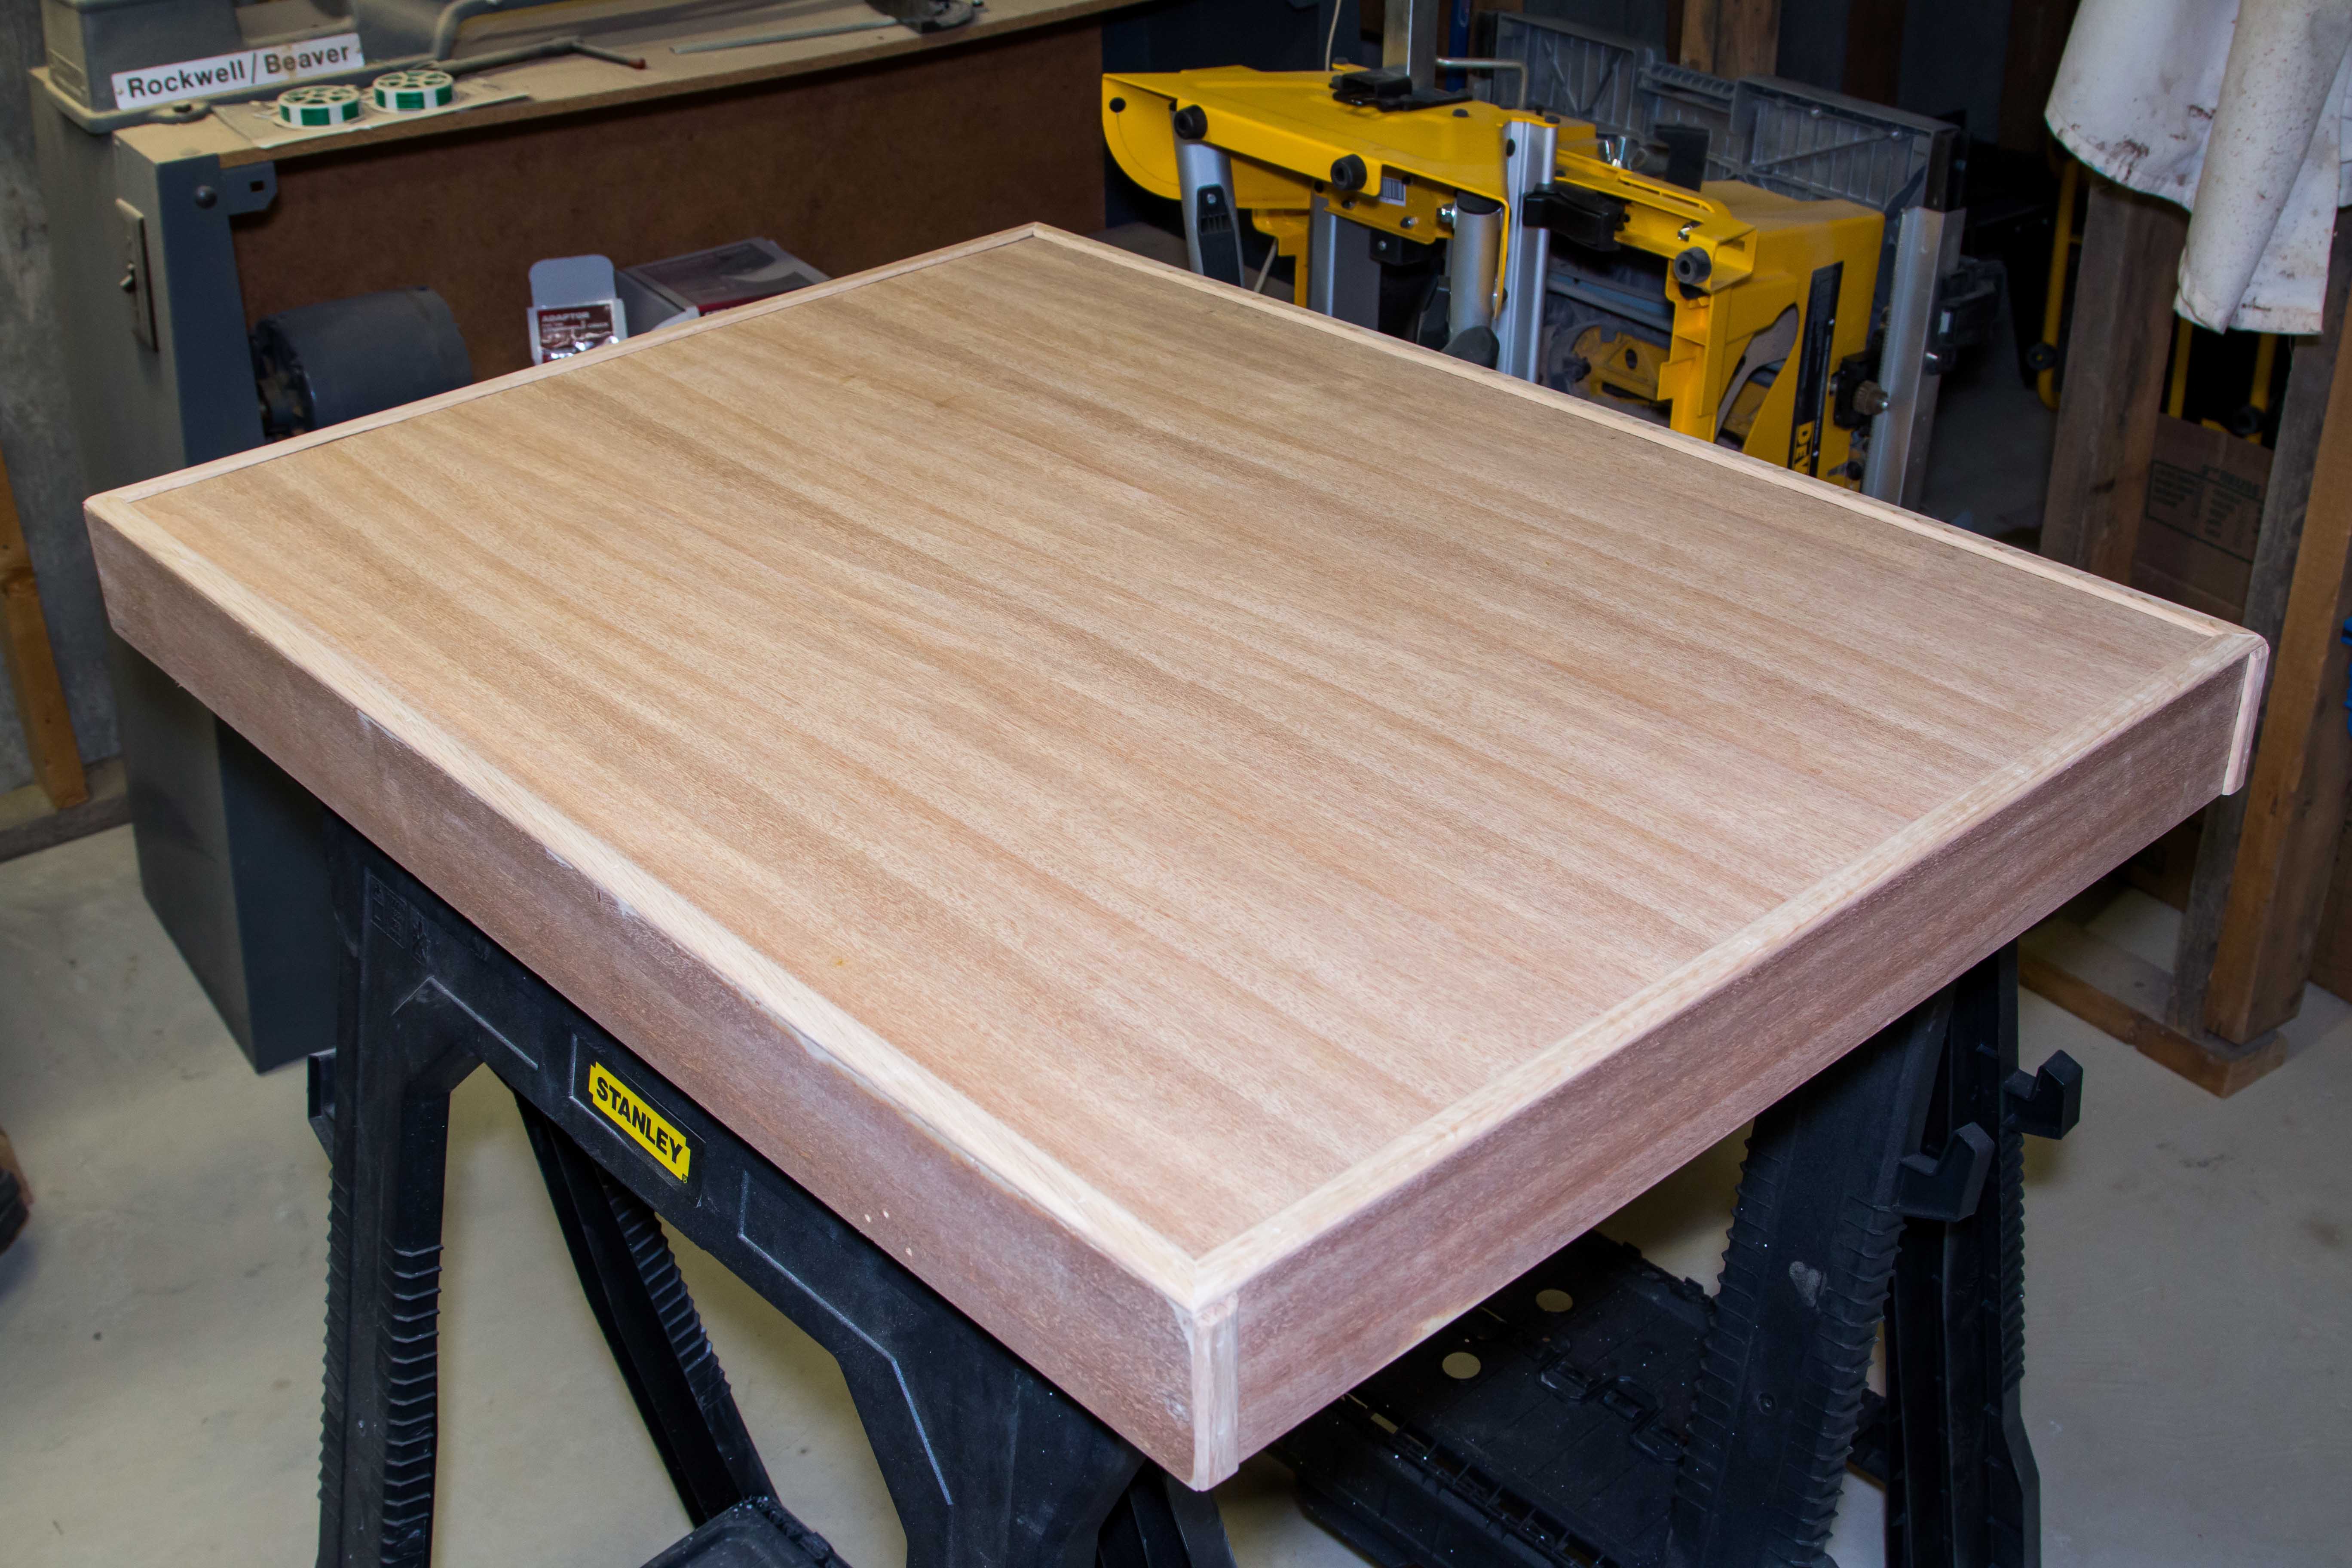

Four coats of varnish later the box was ready to have the hardware re-installed. I was happy to see that the final result was pretty much as good as new and should, hopefully, last another 30 years.


Leave a comment